Template Gallery: Your Shortcut to Pro-Level AI Anime Art
Introduction: From Idea to Masterpiece in One Click
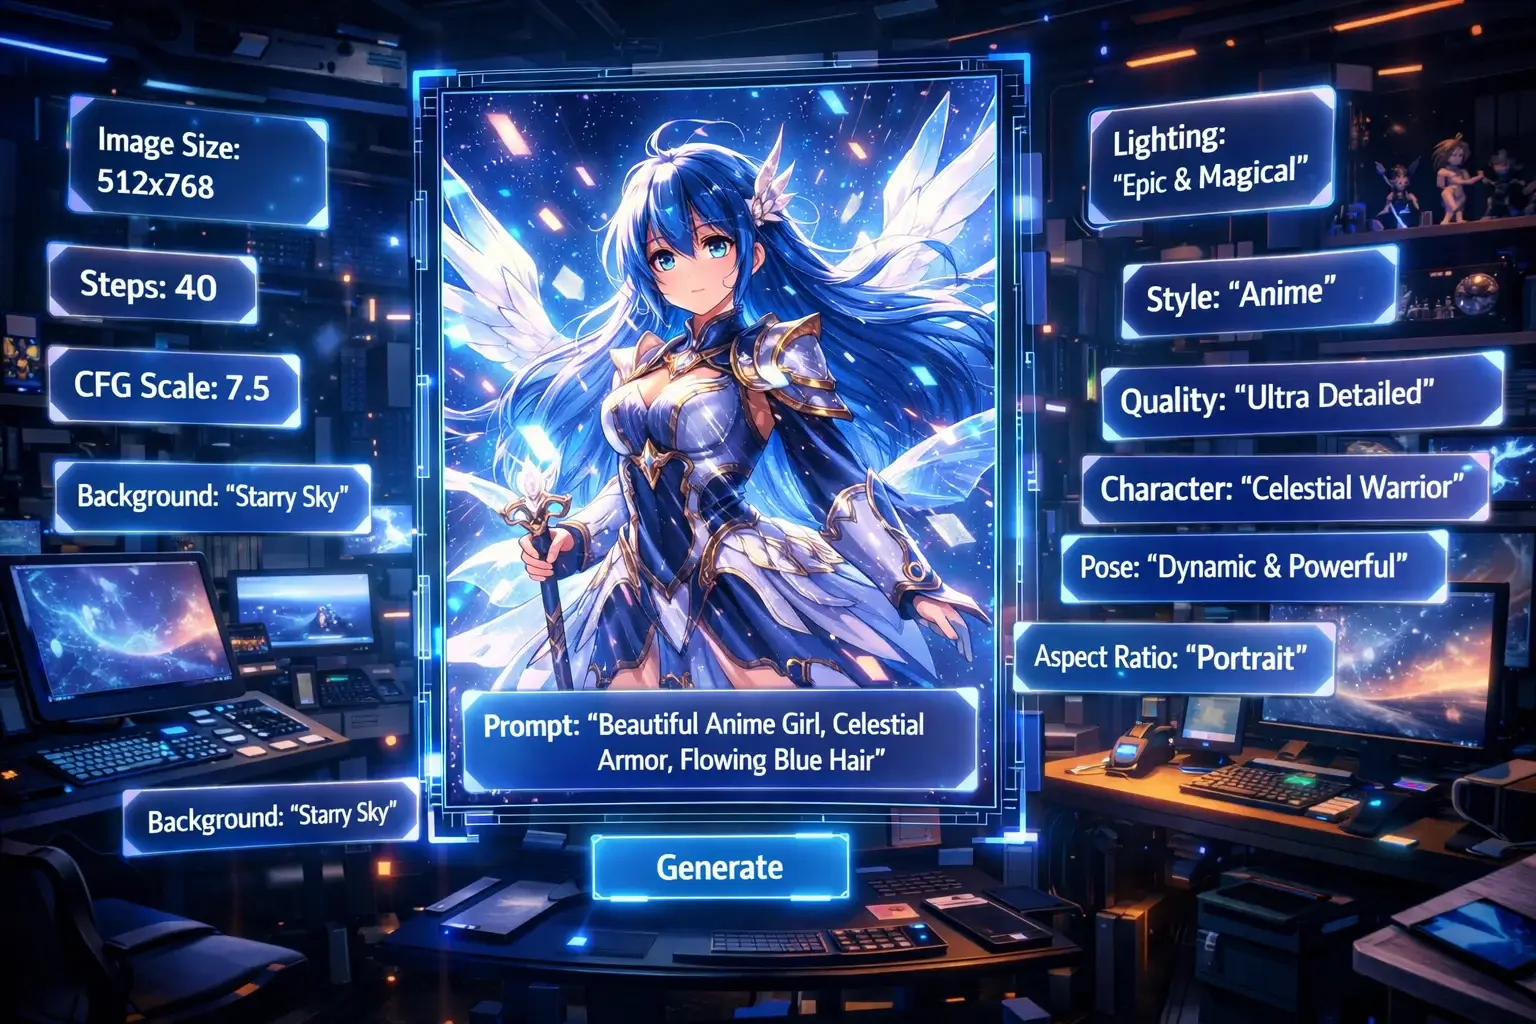
We’ve all been there: staring at a blank prompt box, trying to remember the perfect combination of keywords for "cinematic lighting" or "90s retro aesthetic." While AI offers infinite possibilities, the bridge between an idea and a high-quality result shouldn't feel like a coding challenge.
That’s why we’ve launched the Template Gallery at AnividAI. It’s more than just a list of examples; it’s a collection of curated creative workflows designed to give you professional-grade results instantly.
What is the Template Gallery?
The Template Gallery is our "Logic First" approach to AI creation. Instead of writing long, complex prompts, you choose a "vibe" or "scene" (the template) and simply fill in the blanks.
Whether you want to create a high-octane action sequence or a soft, moody portrait, our templates handle the heavy lifting of composition, style, and lighting, leaving you to focus on the most important part: your vision.
The Ultimate Generator Workspace
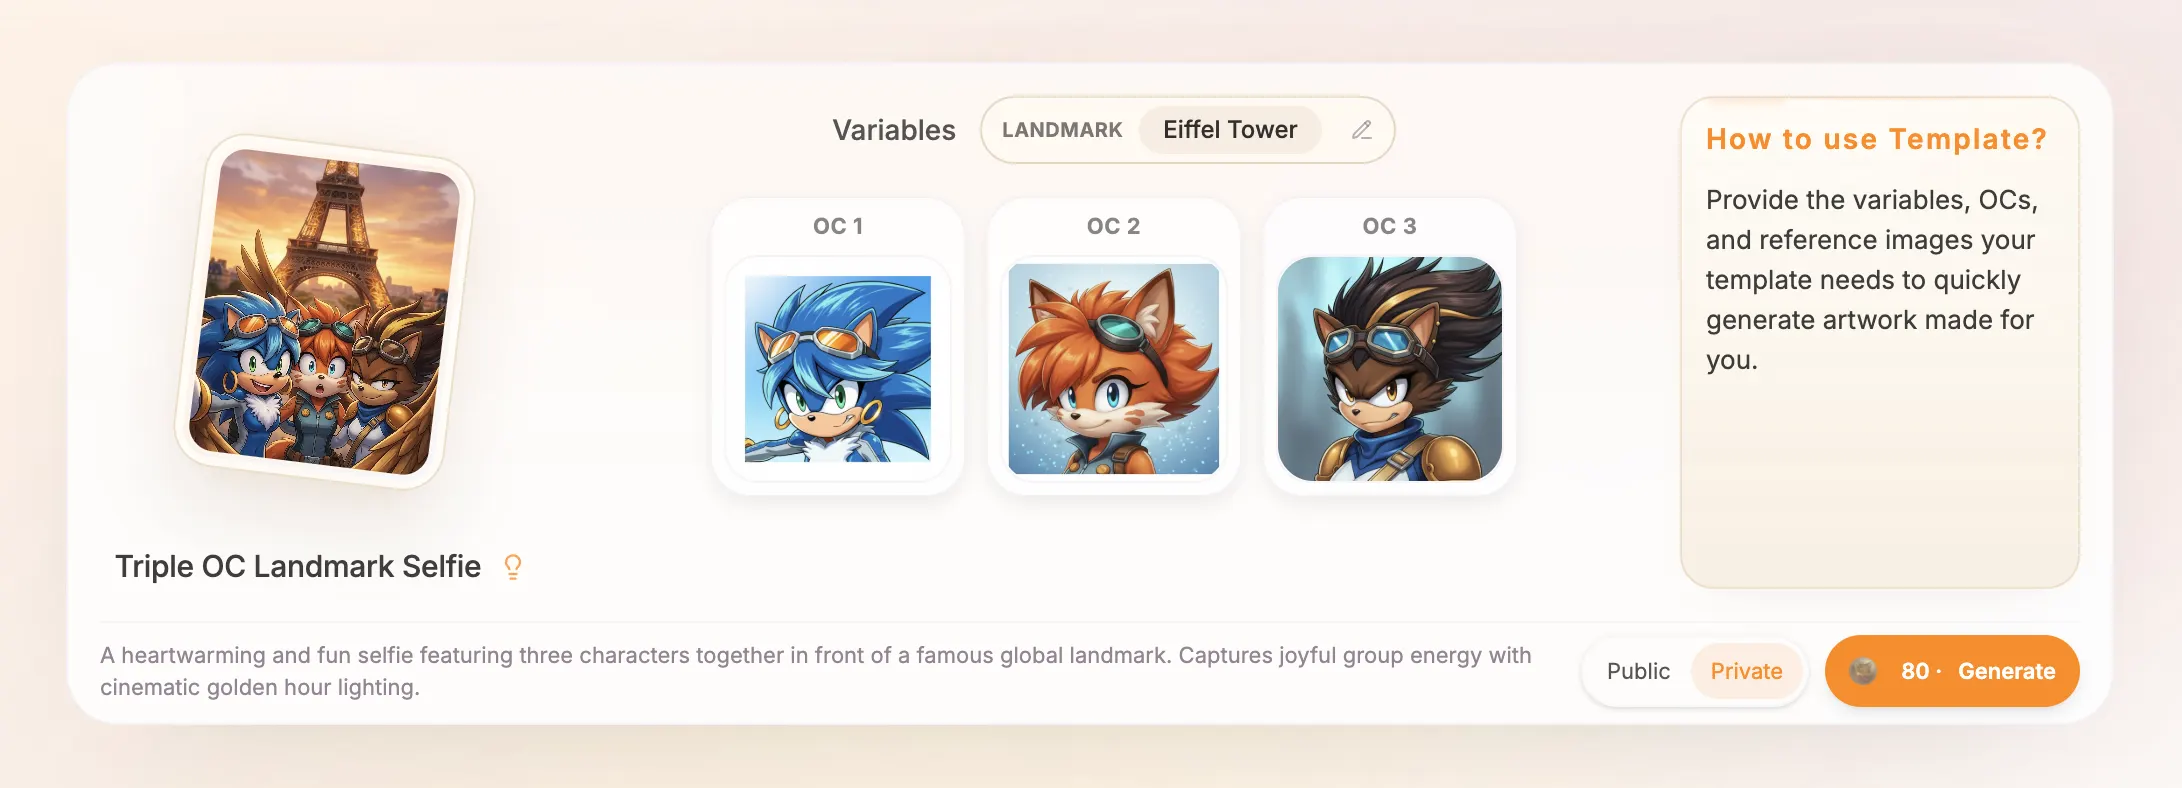
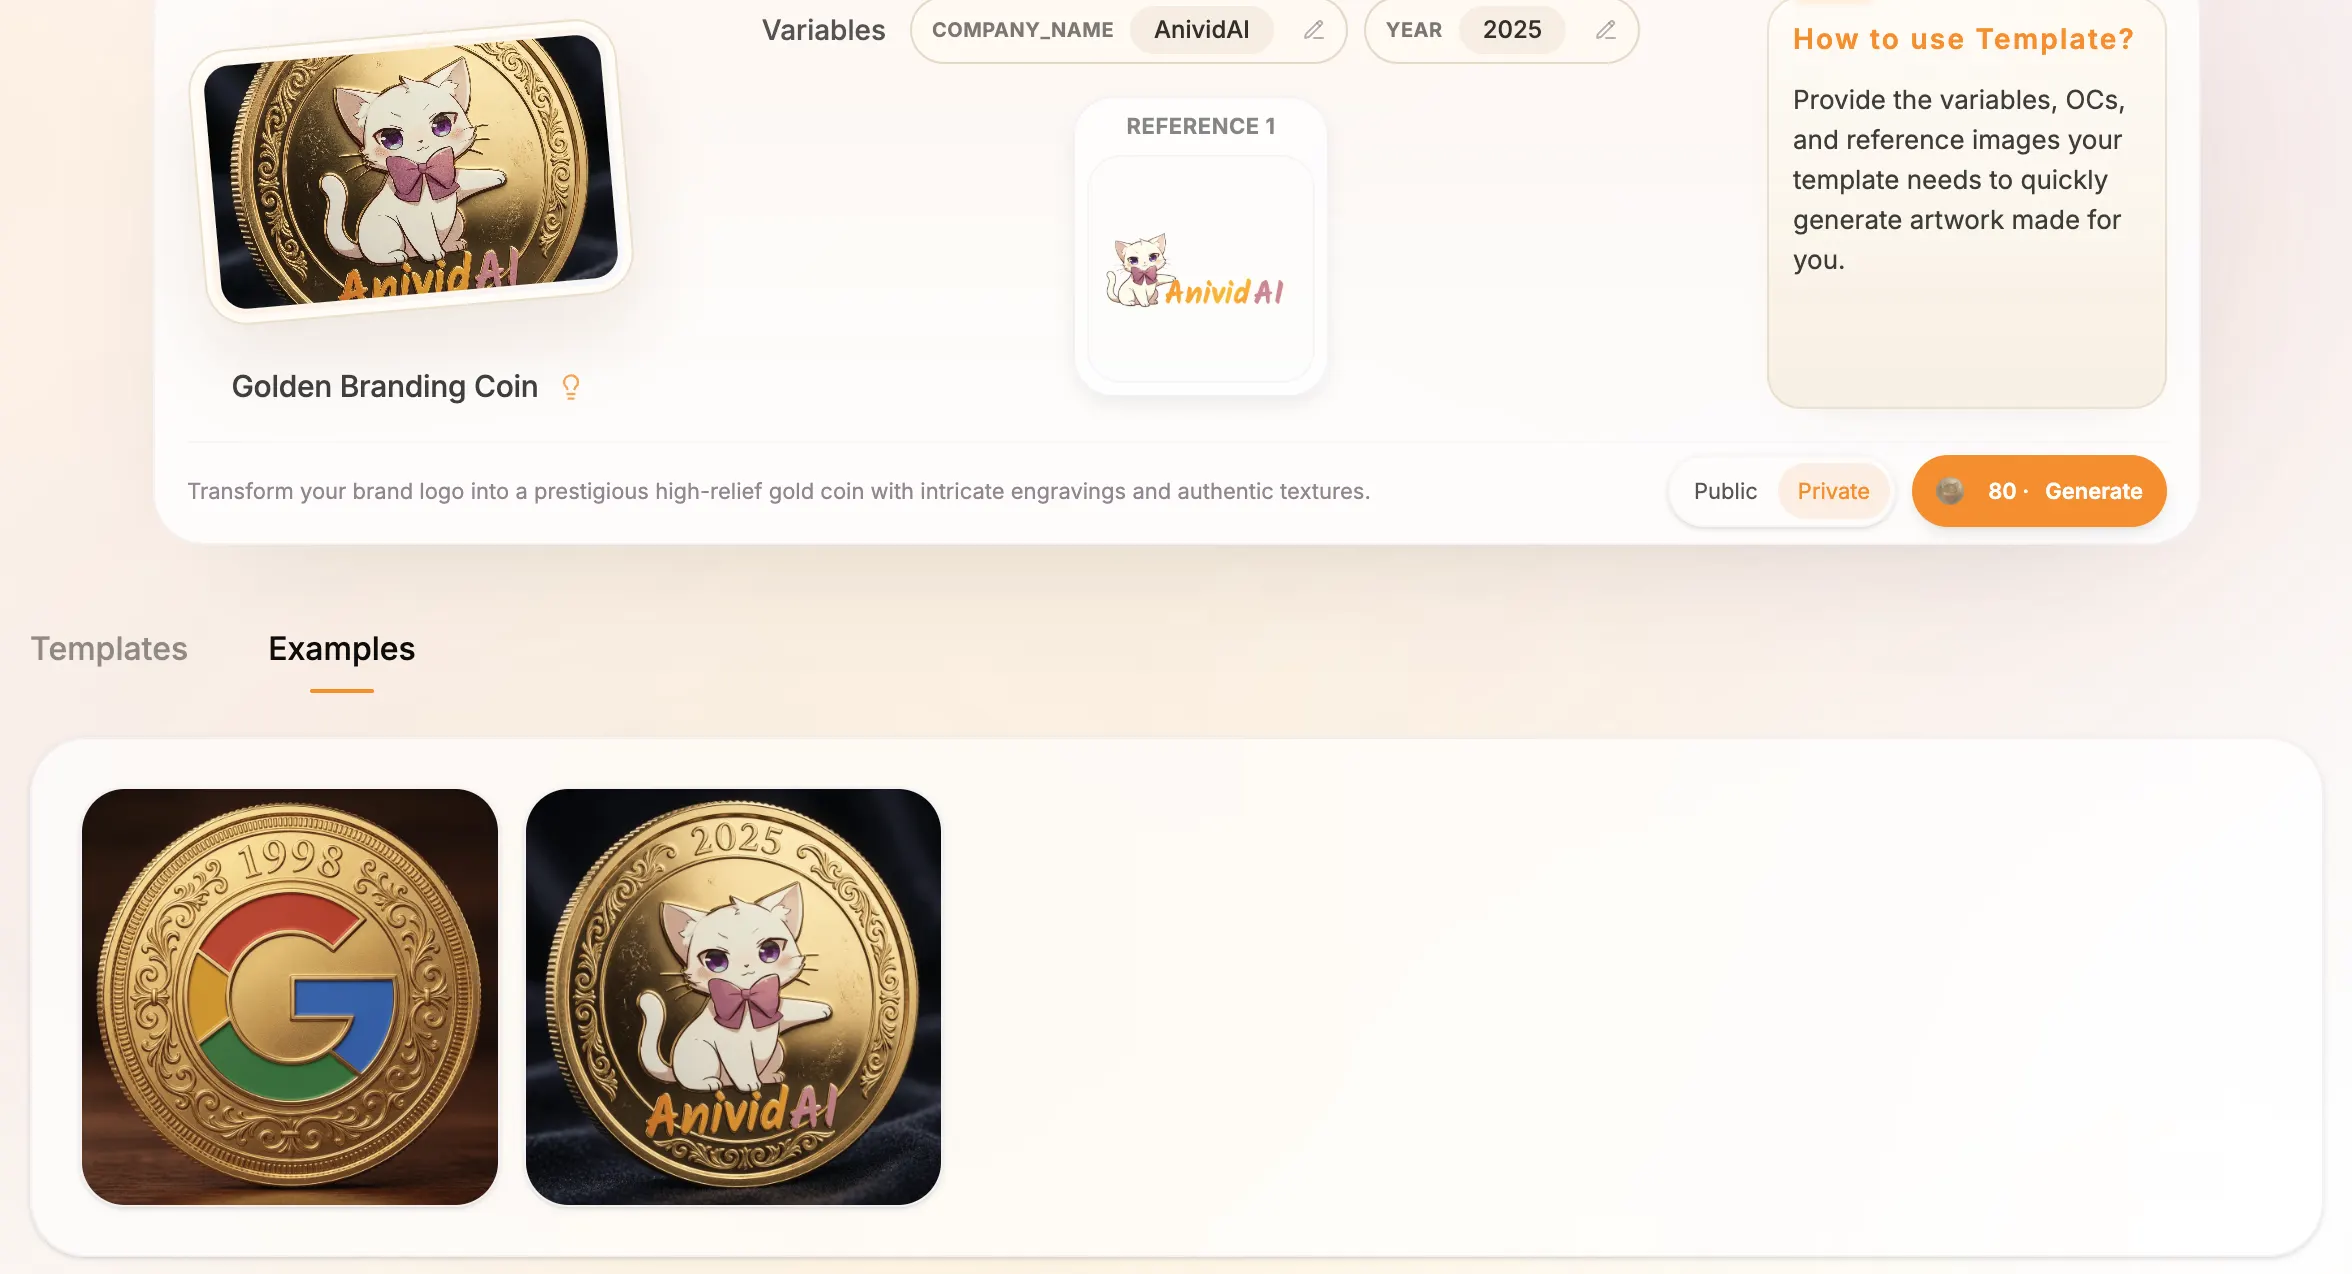
When you select a template, you enter a dedicated workspace designed for focus. The interface is organized into a three-column layout:
- Template Preview (Left): View the template's iconic preview and title at a glance.
- Configuration Hub (Middle): The core area for your inputs. It follows a logical top-to-bottom flow: first, fill in Variables (like expressions or scenes), then select your characters or references in the Slot System.
- Template Tips (Right): Quick hints and best practices to help you get the most out of the selected style.
Note: Your generation results will appear in the Result Stack directly below the generator card.
Step-by-Step Guide: Your First Template Generation
Ready to start? Follow these simple steps to go from a template to a finished masterpiece.
Step 1: Find Your Inspiration
Navigate to the Template Hub. Use the filters to browse by category (like "Cinematic," "Action," or "Portrait") or search for specific keywords like "Cyberpunk" or "Retro." Click on a template card to load it into your workspace.
Step 2: Tweak the Scene with Variables
Directly below the template title in the center column, you’ll find Variable Fields. These are simple inputs like "Expression," "Time of Day," or "Outfit."
- Placeholder values give you a hint of what works best.
- Required fields are marked so you never miss a critical detail.
Step 3: Fill the Slots (Characters & References)
Below the variables, templates use a Unified Slot System to handle both your characters and specific reference images (like poses).
You have three ways to fill any slot:
- Character Studio (The Anchor): Select one of your predefined Original Characters (OCs). This is the best way to ensure perfect visual consistency across different templates.
- Local Upload: Have a specific pose or sketch on your device? Upload it directly to the slot to guide the AI’s composition.
- Artwork Gallery: Browse your previous generations and select a favorite piece to reuse its character traits or artistic style.
Step 4: Manage Your Slots
If a slot is pre-filled by the template (common in Reference Slots), you can:
- Swap it: Use any of the three methods above to replace the default image.
- Reset: Click "Reset to Default" at any time to restore the template’s original artistic intent.
Step 5: Set Visibility & Generate
Before hitting the button, decide if your generation should be Public (visible in the community showcase) or Private. Once you're ready, click Generate. Your masterpiece will appear in the result area directly below the generator!
Key Features: Power Under the Hood
1. "Template as Entry Point"
Browse our extensive library in the Templates Hub. Clicking a card instantly loads that professional workflow into the generator at the top. It’s the fastest way to turn inspiration into reality.
2. Native Character Integration (OC Anchor)
The true magic happens when you "slot" your OCs directly into a template. Our system automatically injects your character's visual traits into the template's logic, ensuring they look like they truly belong in the scene—no extra prompting required.
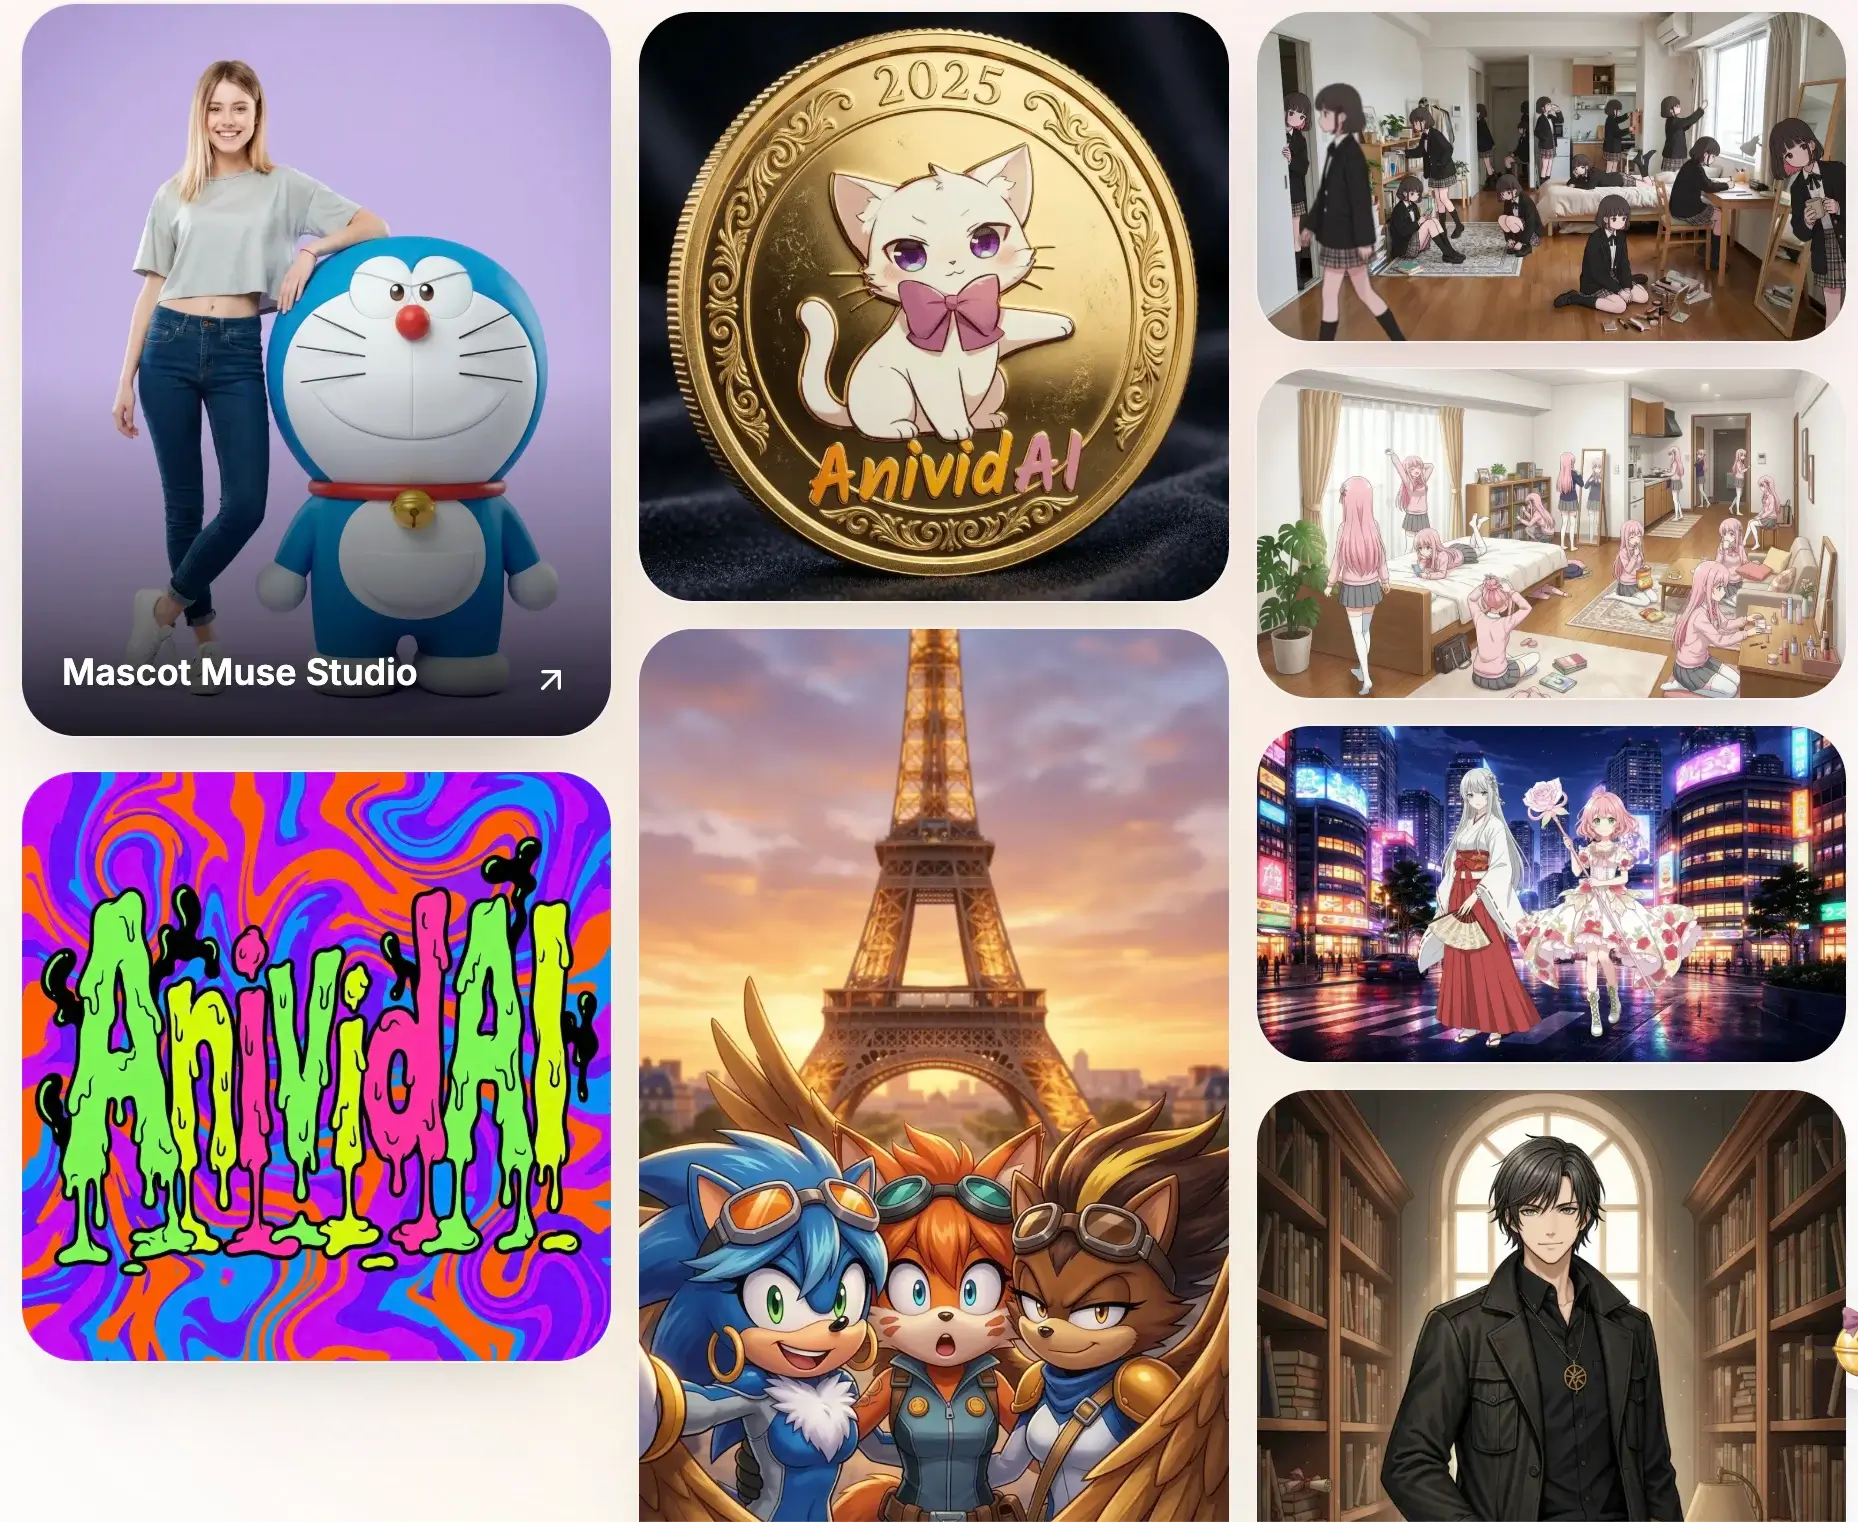
3. Community-Proven Results
Curious about what a template can do? Switch to the Examples tab to see a waterfall of public generations. This "live proof" helps you understand the template's range and potential before you spend a single credit.
Pro Tips for Template Users
- Check the Hints: Look at the "Template Tips" on the right for specific tips on getting the most out of a particular style.
- Variable Focus: Templates hide the messy prompt engineering. Focus on the simple variable fields—they are the key to making the template your own.
- Trust the Examples: If you're stuck, use the Examples tab as a reference for what kind of character traits work best with the template's lighting.
Conclusion: Focus on the Story, Not the Prompt
At AnividAI, our goal is to lower the barrier to high-quality anime creation. The Template Gallery removes the "Prompt Engineering" tax, allowing you to spend more time storytelling and less time troubleshooting.
Explore the Template Gallery Now →
Last Updated: March 2026
Read More
AI Anime Video Generator: A Beginner's Complete Guide
Learn how AnividAI's AI Anime Video Generator helps you turn static illustrations into dynamic anime masterpieces, seamlessly leveraging Character Studio OCs, multi-shot modes, and high-fidelity video models.
Read More
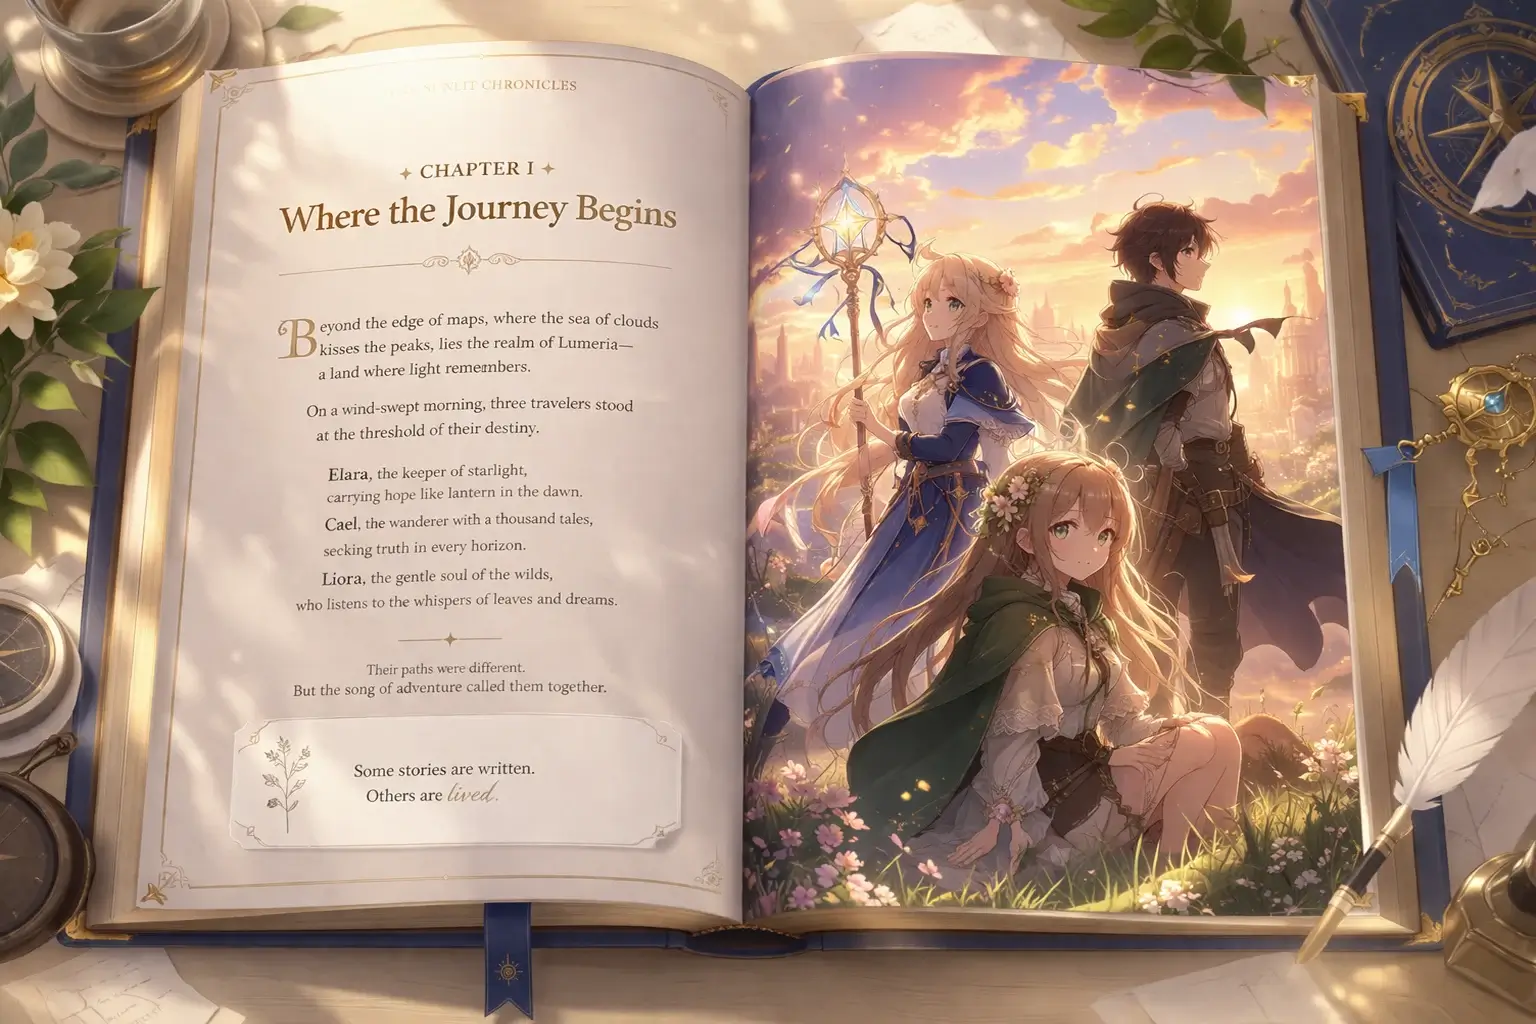
AI Story Generator: Create Illustrated Anime Stories Page by Page
Learn how AnividAI's AI Story Generator helps you turn a premise into illustrated anime story pages with World, Genre, Language, Character Studio OCs, and optional video clips in a book-spread workbench.
Read More