AI Story Generator: Create Illustrated Anime Stories Page by Page
Introduction: Turn a Spark of an Idea into an Illustrated Anime Story
Some stories begin with a single image. Others begin with a sentence you cannot stop thinking about: a lost shrine maiden, a sky city under sunset clouds, or two rivals standing at the edge of a moonlit duel.
AnividAI AI Story Generator is built for that first spark. It turns a short premise into a page-by-page anime story with narrative text, illustrated scenes, and optional cinematic clips, while helping your characters stay visually consistent from one page to the next.

What is AI Story Generator?
AI Story Generator is a Story Lab feature for creating illustrated short stories in a guided, page-by-page workflow.
Instead of asking the AI to output an entire long story at once, you generate one page, review the text and visuals, then continue to the next page when the direction feels right. This makes the workflow feel closer to building a picture book or anime storyboard than waiting for a one-shot wall of text.
In other words: set up the story once, then build it page by page.
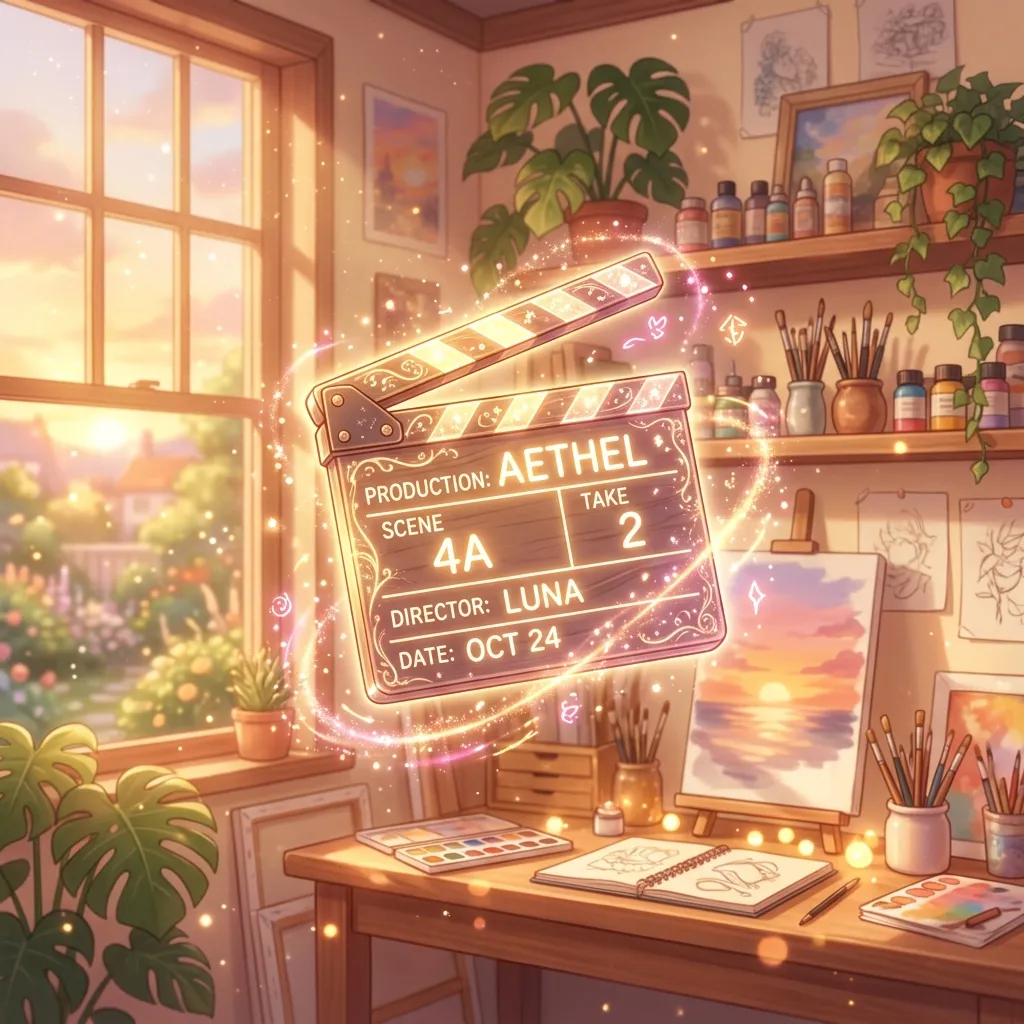
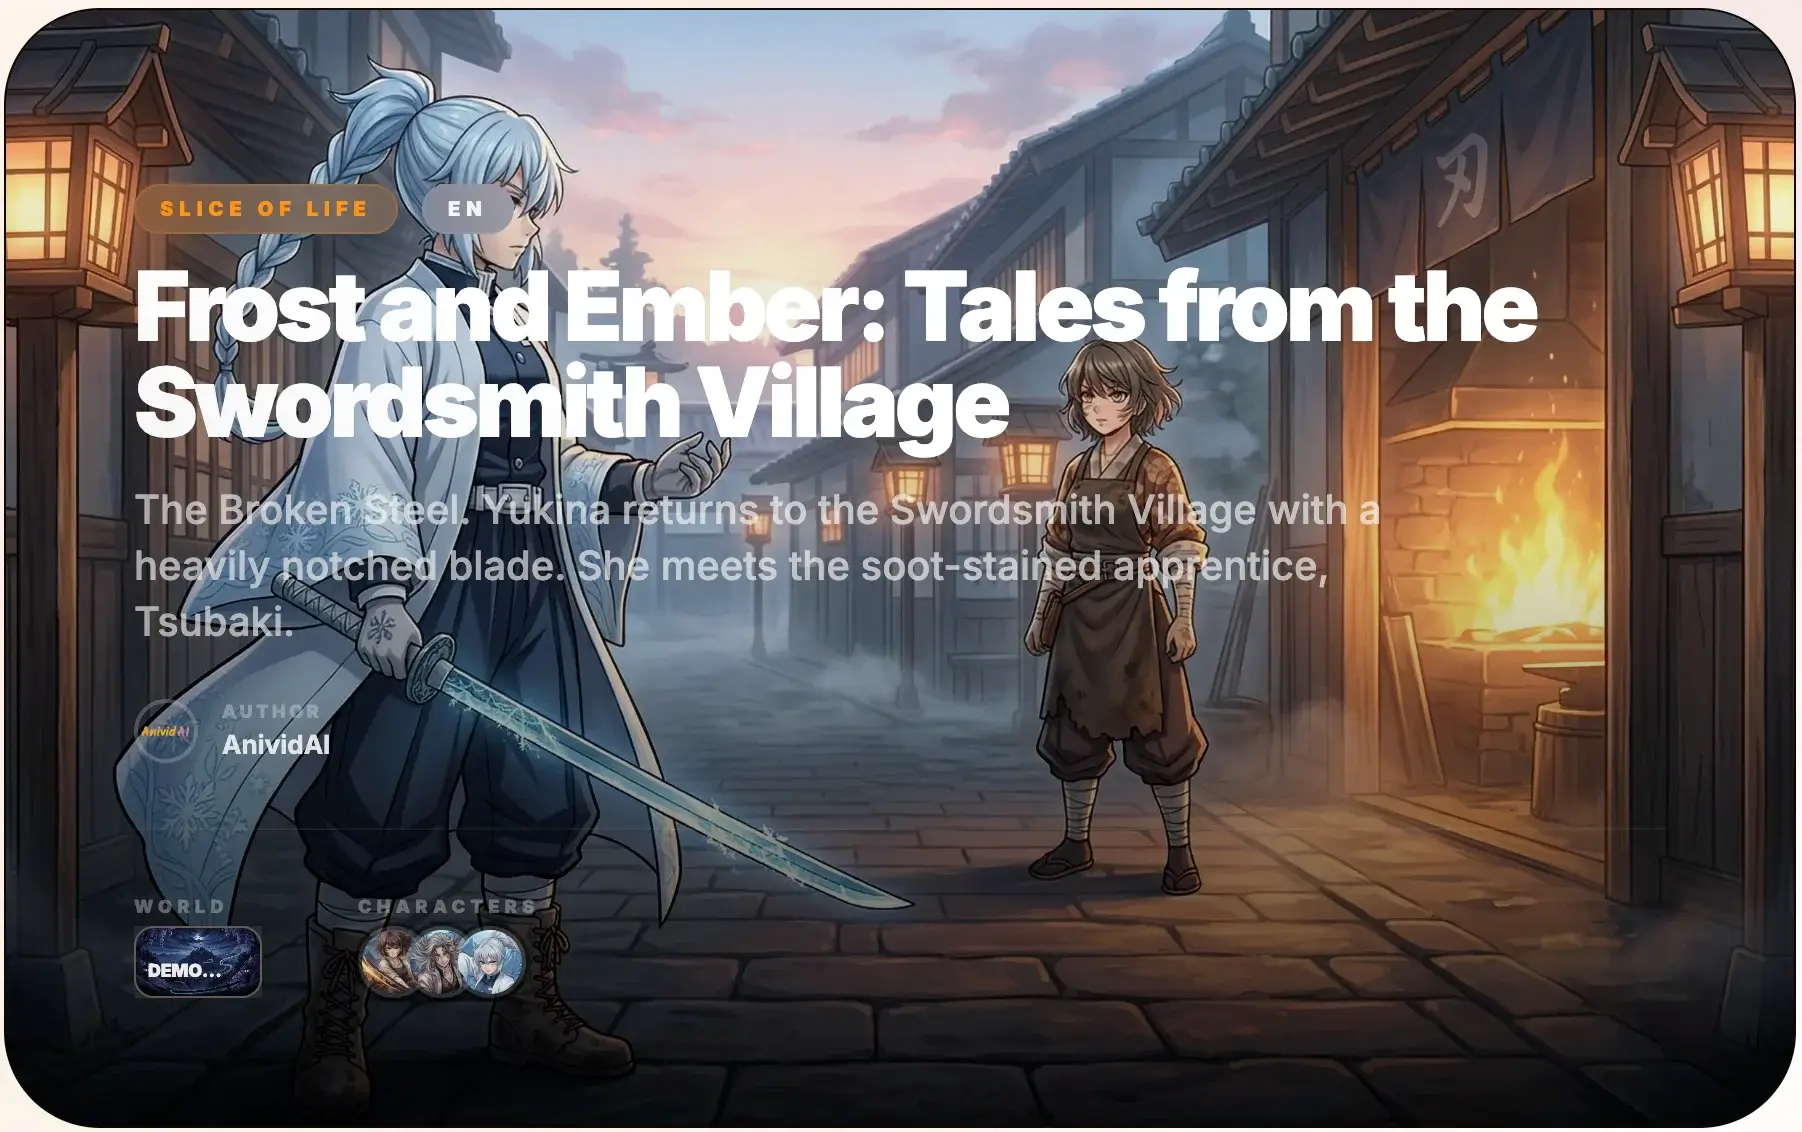
Here is an example of a finished story cover generated in AnividAI, so you can see the kind of output this workflow is designed to create before we walk through the setup steps.
Each story can start from a short premise plus your chosen World, Genre, and Language. For the cast, you can either select existing OCs from Character Studio and public characters, or let AnividAI generate story-specific OCs automatically when no character is selected.
Quick Start: Choose Your World, Genre, Language, and Characters
On the AI Story Generator landing page, the quick-start panel keeps the setup simple:
- World: Choose the setting that defines the atmosphere, lore, and visual context.
- Genre: Pick the story direction, such as adventure, romance, mystery, fantasy, or slice of life.
- Language: Select the story content language independently from the site UI language.
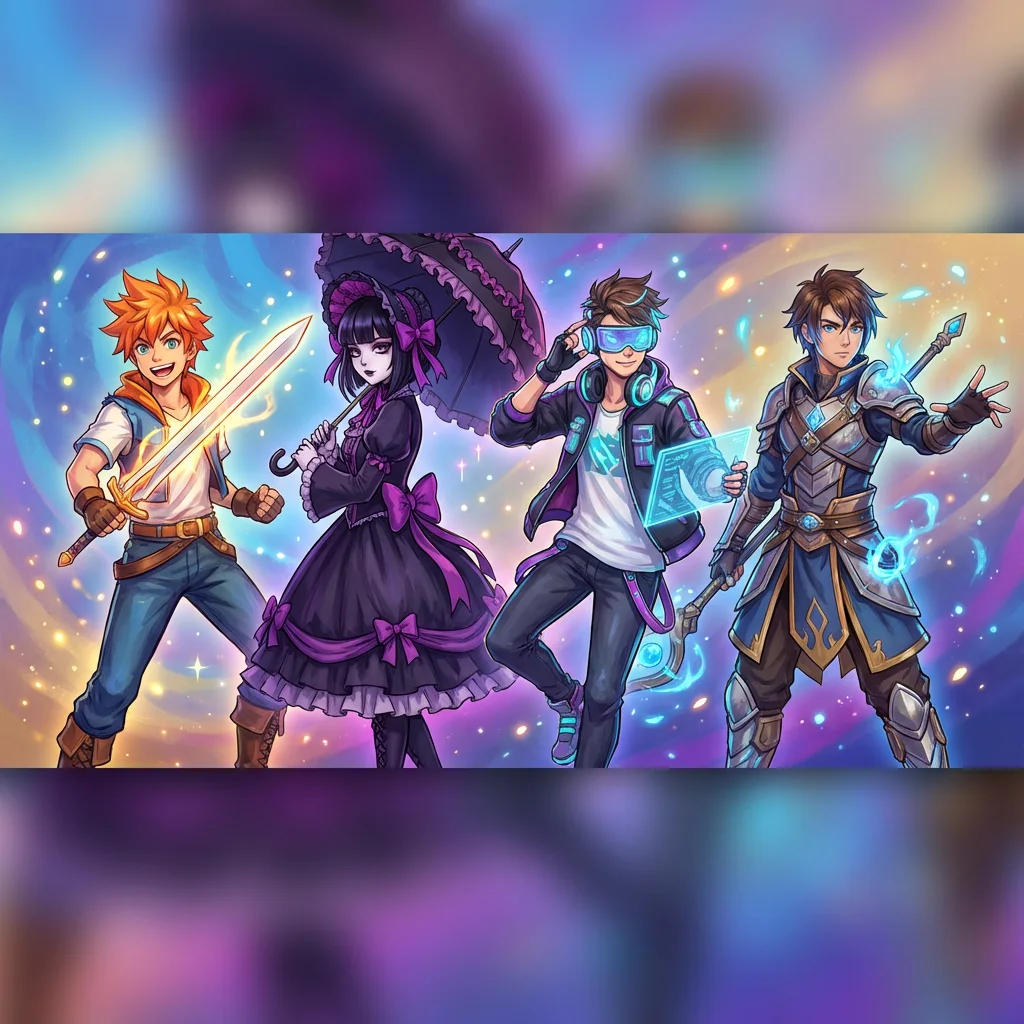
- Characters: Select up to 3 characters from Character Studio or public OCs. If you do not have a prepared OC yet, the generator can automatically create story-specific OCs for this story based on your premise and setup.
- Image / Video: Decide whether the first generated page should include an illustration, a video clip, or both.
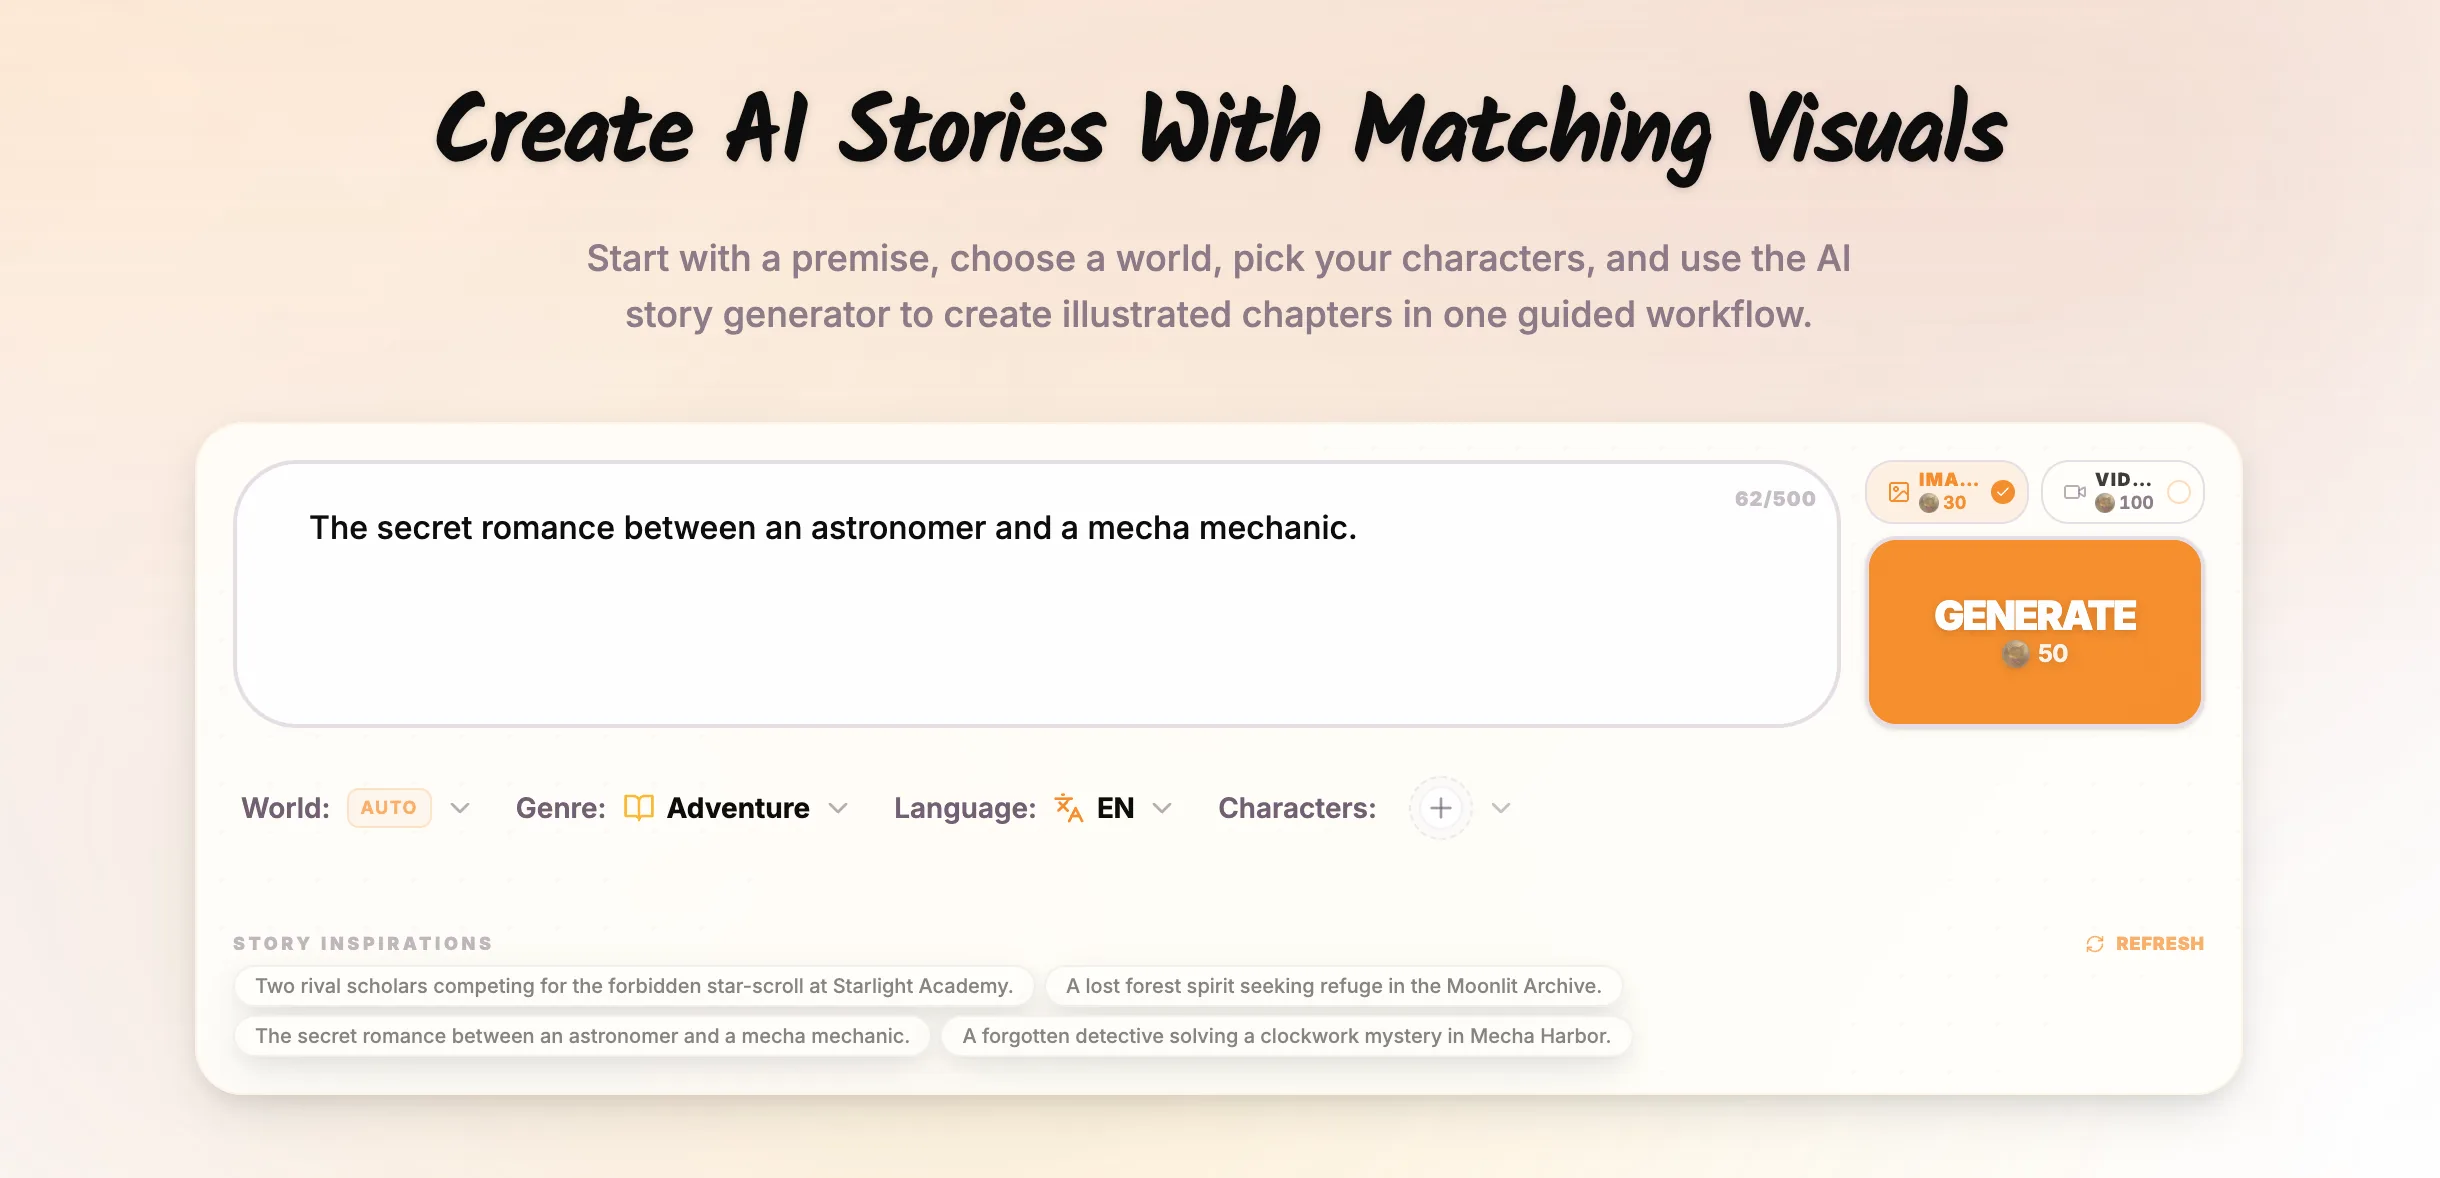
Then write a short premise in the prompt box and click Generate.
The Story Workbench at a Glance: First Page, Book Spread, and Image / Video Tabs
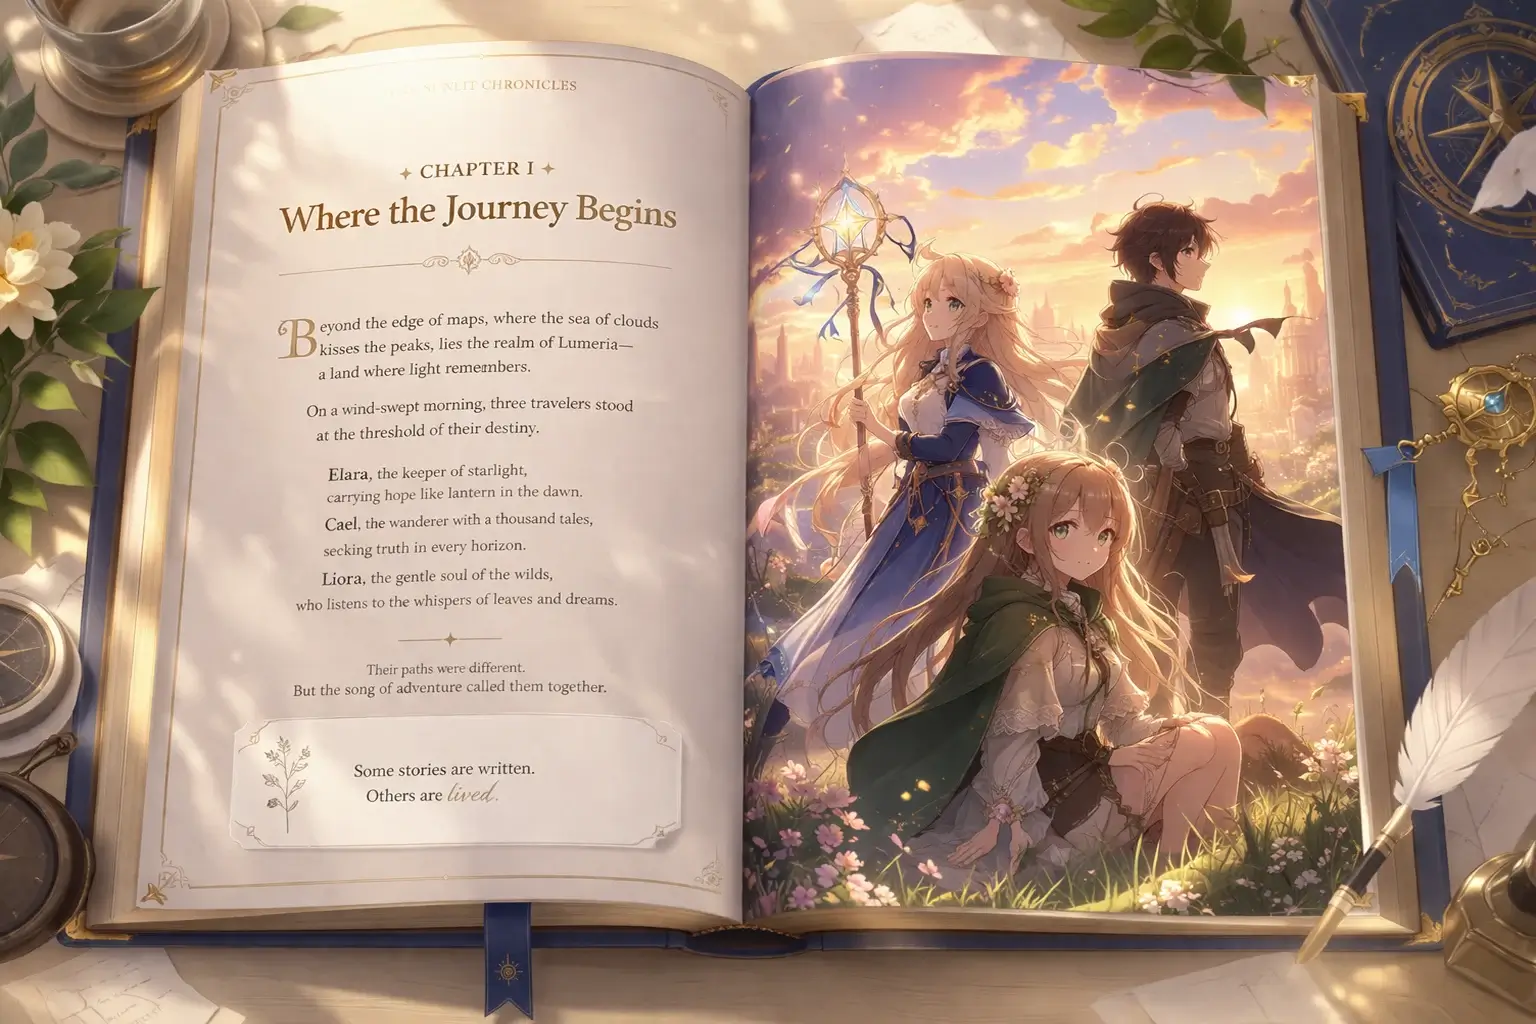
Once you start, AnividAI creates your first story page and opens it directly in the story workbench, where the page navigator, editable narrative area, and Image / Video tabs live in one book-spread workspace.
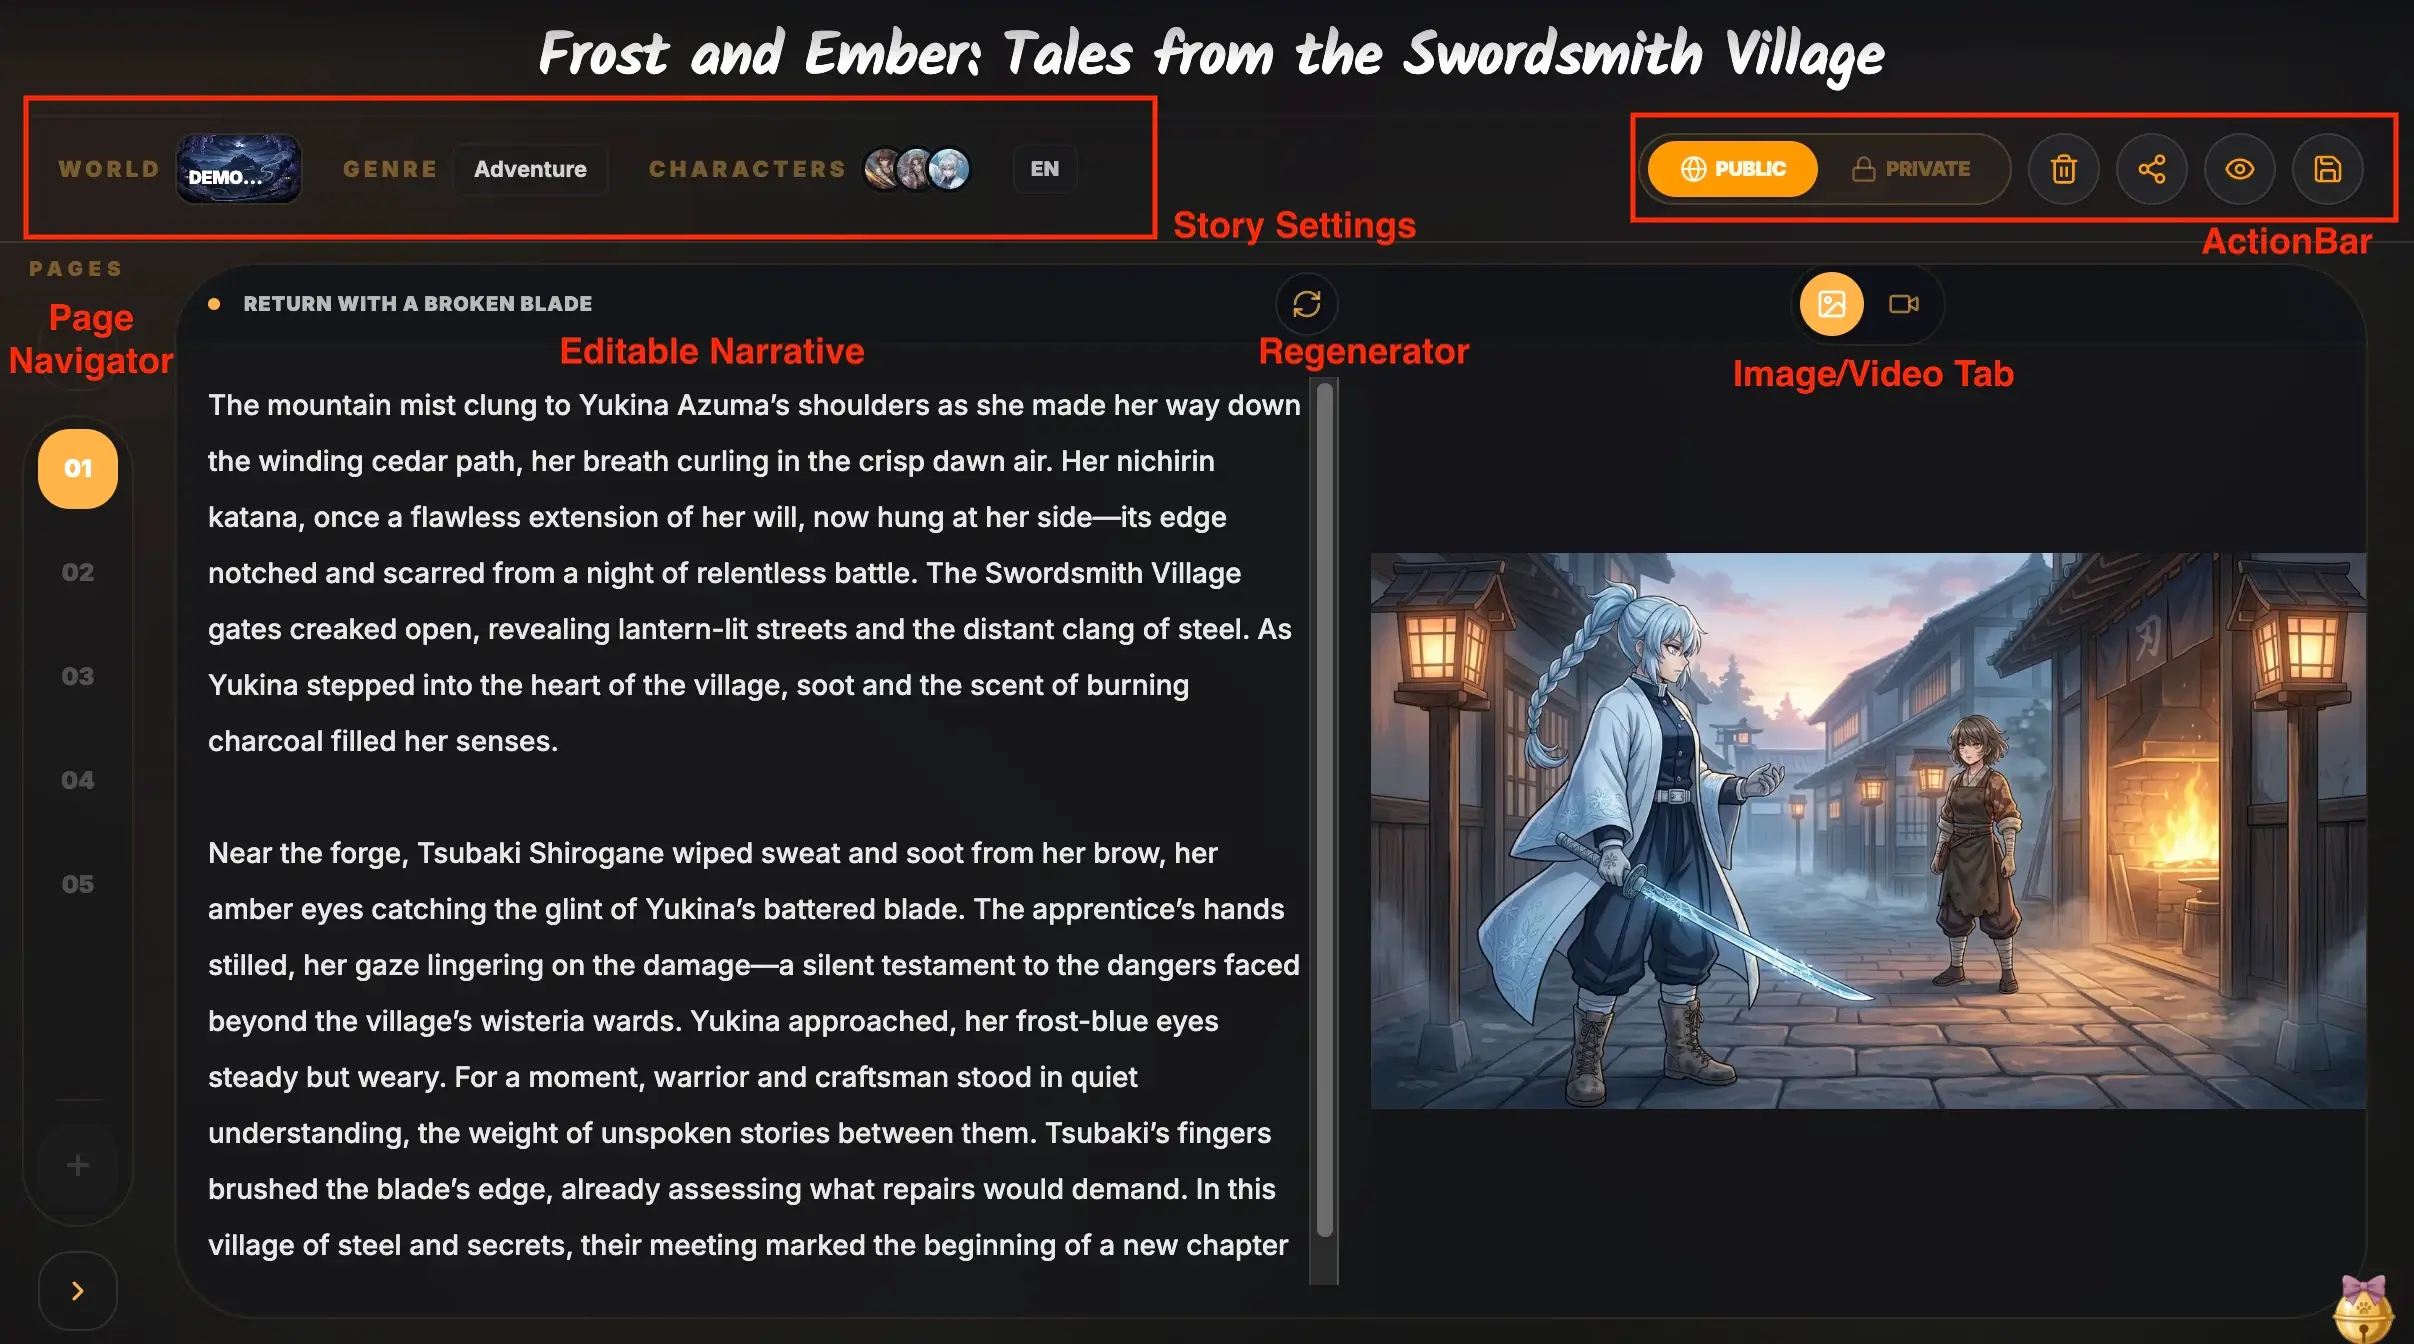
On the opening page and every page after that, you can work with these core pieces:
- Story title: A project title that frames the whole story.
- Page title: A chapter-like title for the current page.
- Narrative: The actual story text for this page.
- Visual scene: A matching illustration in the Image tab, and a video clip in the Video tab if video generation is enabled.
This gives you a strong opening without locking you into a fully finished plot too early.
The Book-Spread Workbench: Write, Review, and Continue Page by Page
The story workbench is designed like an open book spread: narrative on one side, visual media on the other.
You can:
- Move between pages from the side page navigator.
- Edit the current page narrative directly.
- Save changes before generating the next page.
- Continue from the current page and rewrite later pages if you want to change the story direction.
- Delete the current page or the entire story from the workspace menu.
That page-by-page rhythm is especially useful for short illustrated stories, because you can keep pacing, tone, and emotional buildup under control instead of accepting every plot jump the AI suggests.
Make Each Page Visual: Illustration and Video in One Story Flow
Each story page can carry a static illustration, a short video clip, or both.
- Use the Image tab to review the illustration for the current page.
- Use the Video tab to preview the generated clip when available.
- If a video is generated after an illustration, the video follows that visual reference so the motion feels tied to the current scene.
For story creators, this is useful when you want one page to feel like a quiet illustrated beat, and another page to become a more cinematic moment.
Refine the Current Page, with Standalone Media Regeneration Coming Soon
At the moment, the regeneration button in the workbench is focused on regenerating the current page as a whole: you describe how the page should change, and AnividAI rewrites the page story first, then generates a new matching illustration.
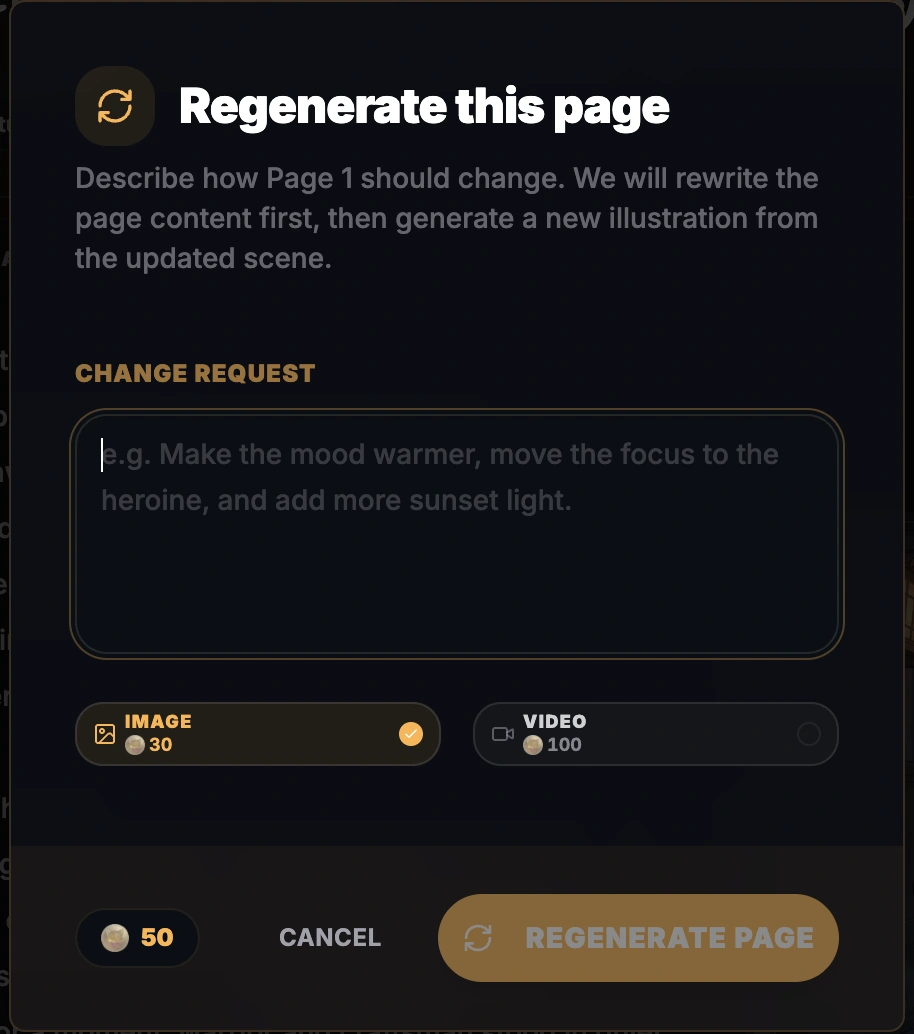
Need finer control? Standalone image regeneration and standalone video regeneration are planned as Coming Soon updates, so you will be able to revise only the visual layer or only the motion layer without rewriting the page text.
Keep Characters Consistent with Character Studio
One of the biggest challenges in AI storytelling is character drift. A protagonist may look right on Page 1, then slowly change hair shape, outfit details, or facial features on later pages.
That is why AI Story Generator works best when you select characters from Character Studio.
Character Studio acts as your character anchor:
- It gives each OC a reusable identity and visual reference.
- It helps the story workflow keep the same character names and core traits across pages.
- It makes illustrated story creation feel more like reusing a real cast, not re-inventing the protagonist every time.
If you have not built your cast yet, start in Character Studio, then bring those OCs into your story.
And if you want to begin writing immediately without preparing OCs first, simply leave the Characters field empty during setup: AnividAI will generate a story-specific cast for that story and use it as the narrative and visual basis for the opening page.
Public or Private: Choose How Your Story Is Shared
AnividAI gives your story a visibility setting in the workbench:
- Free users: New stories are public by default.
- Subscribers: New stories are private by default, and can be switched to public later if you want to publish them.
Subscribers also unlock multi-page continuation, so you can keep expanding the story beyond the opening page and build a longer illustrated sequence.

Pro Tips for Better AI Anime Stories
- Use a clear premise: Mention the protagonist, core conflict, and emotional mood in one or two sentences.
- Choose a World before generating: A defined setting helps the AI keep the story atmosphere more stable.
- Treat Genre as direction, not a cage: Pick the closest genre, then use the premise and next-page prompts to steer the tone.
- Lock your main cast early: Select your most important OCs before generating the first page.
- Edit before continuing: If a page has the right idea but weak wording, polish the narrative first, then continue.
- Use video selectively: Save video generation for pages where motion, atmosphere, or dramatic timing really matters.
Conclusion: Start Your First AI Anime Story
AI Story Generator is designed for creators who want more than a random story prompt. It gives you a warm, structured way to shape an illustrated anime narrative, one page at a time, while keeping your characters and scenes connected.
If you already have a premise in mind, this is a good moment to turn it into your first opening page.
Start Creating with AI Story Generator →
Last Updated: April 2026
Read More
Mastering Anime Art: The Ultimate Guide to AI Generation with AnividAI
Unlock the full potential of AI anime art! Learn how to write perfect prompts, choose the right models, and use AnividAI’s unique Character Studio to maintain perfect consistency. Whether you're a beginner or a pro, this guide will help you create stunning, professional-grade anime illustrations in seconds.
Read More

Template Gallery: Your Shortcut to Pro-Level AI Anime Art
Skip the prompt engineering! Discover how AnividAI's Template Gallery allows you to create high-quality anime images and videos in seconds. Learn to use pre-designed workflows, customize variables, and keep your characters consistent with one click.
Read More